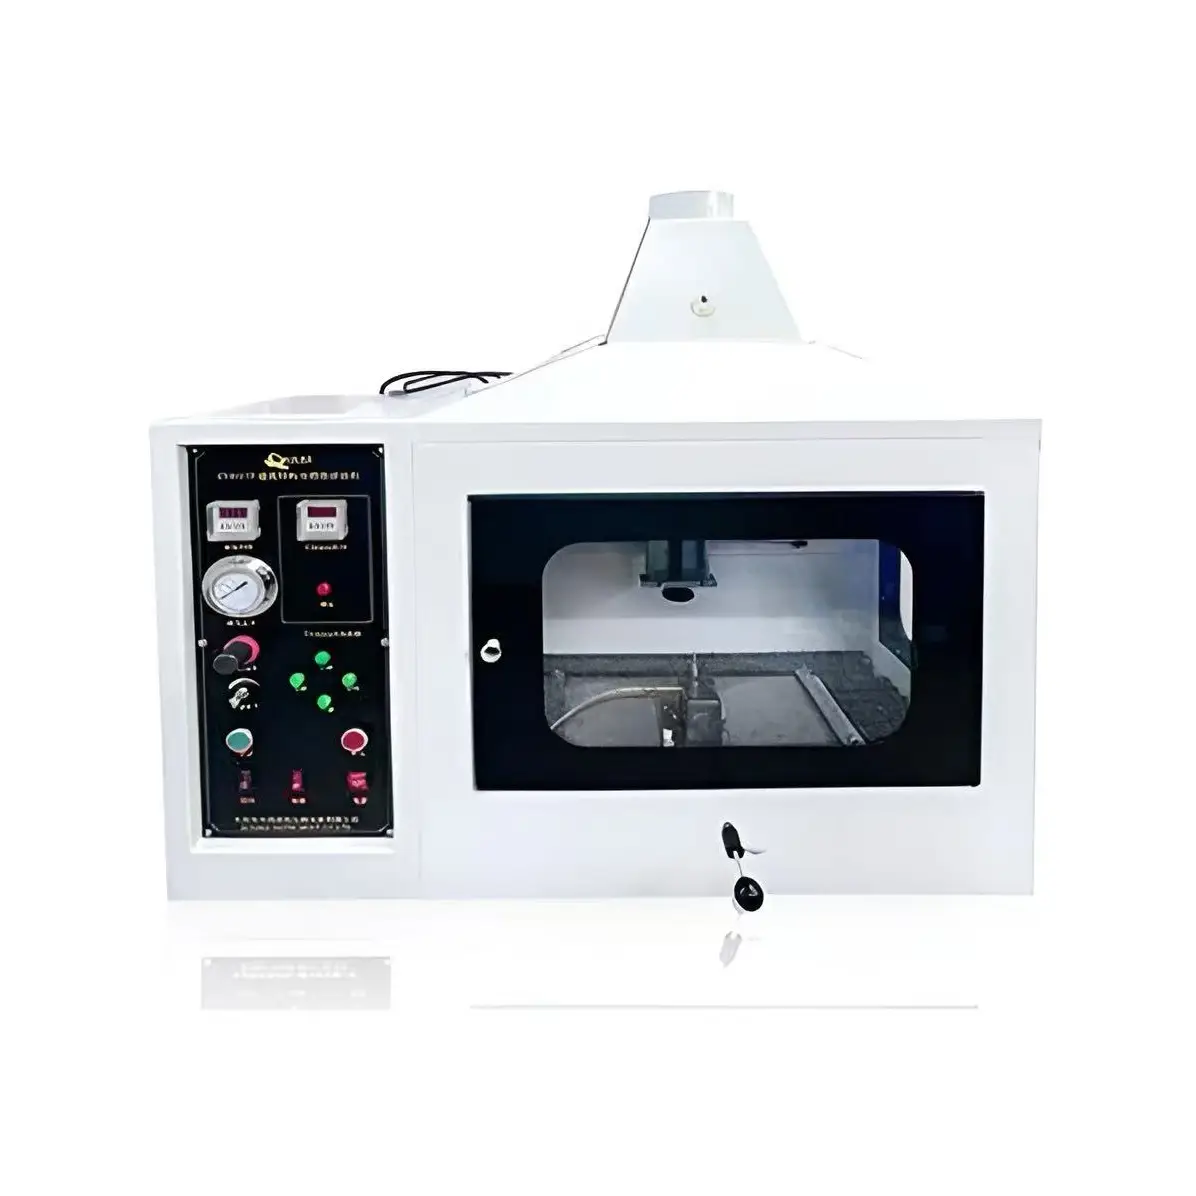
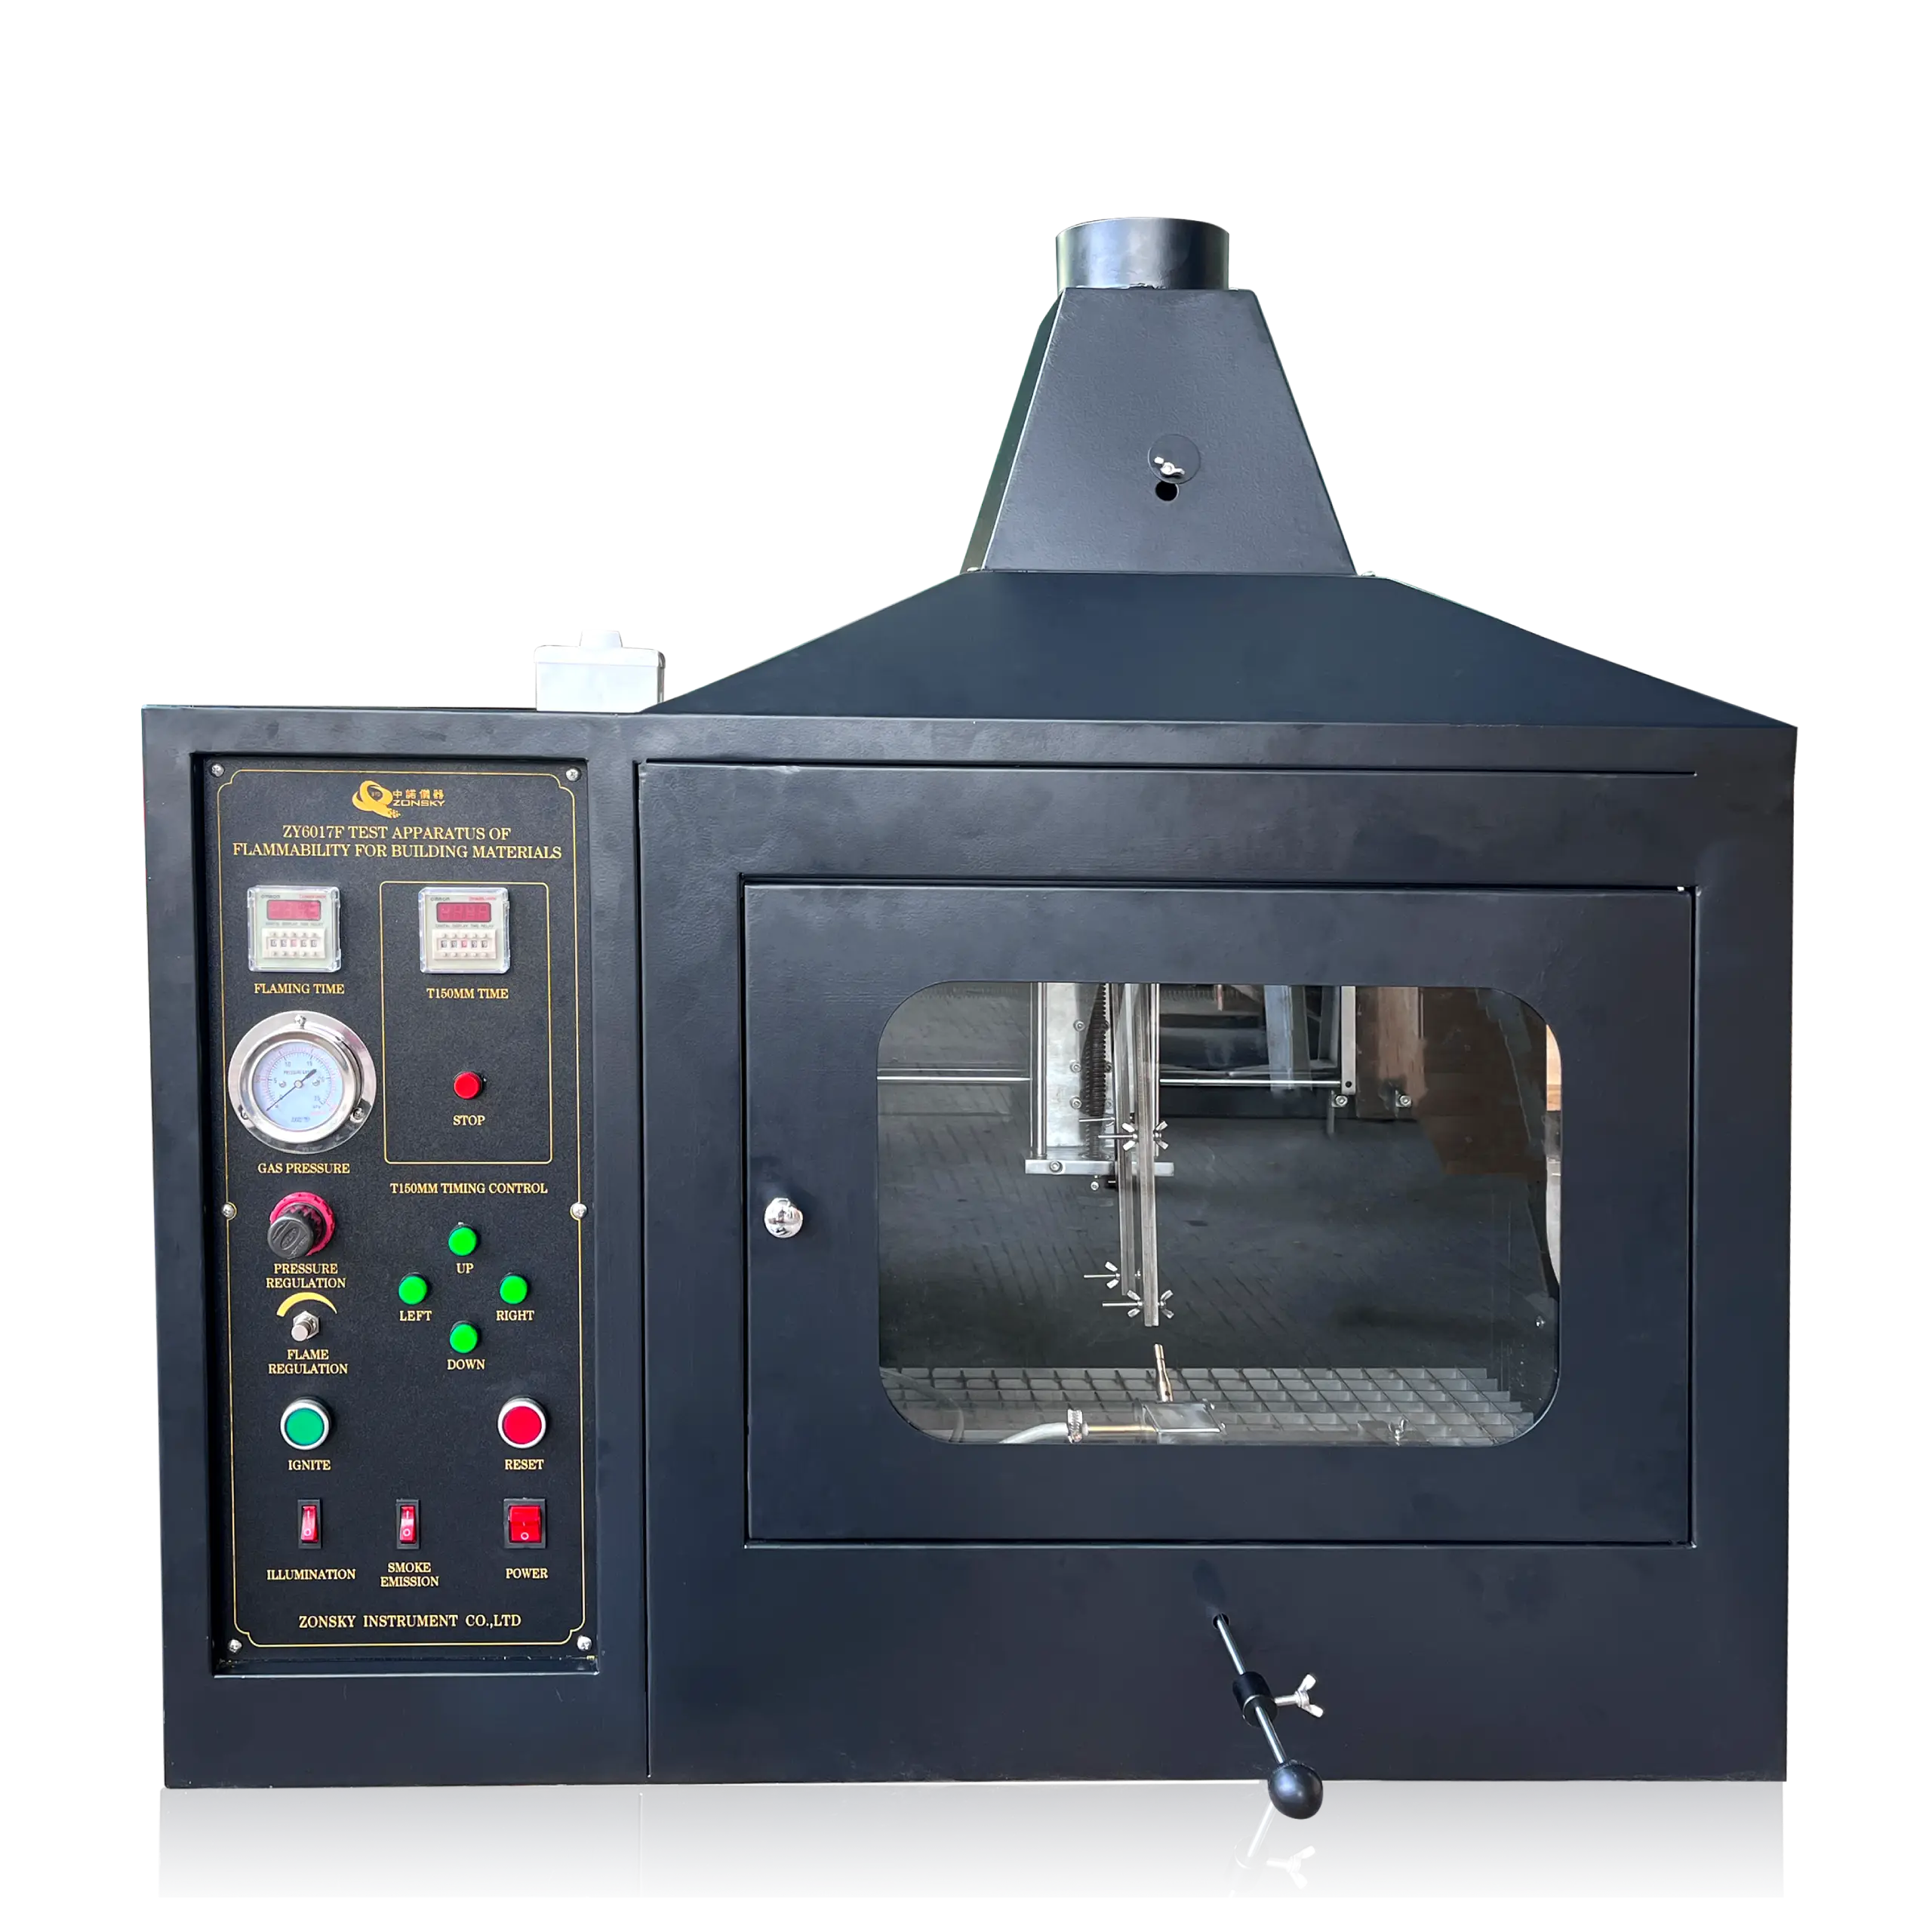
–
Highlights / Outstanding Features / Characteristics
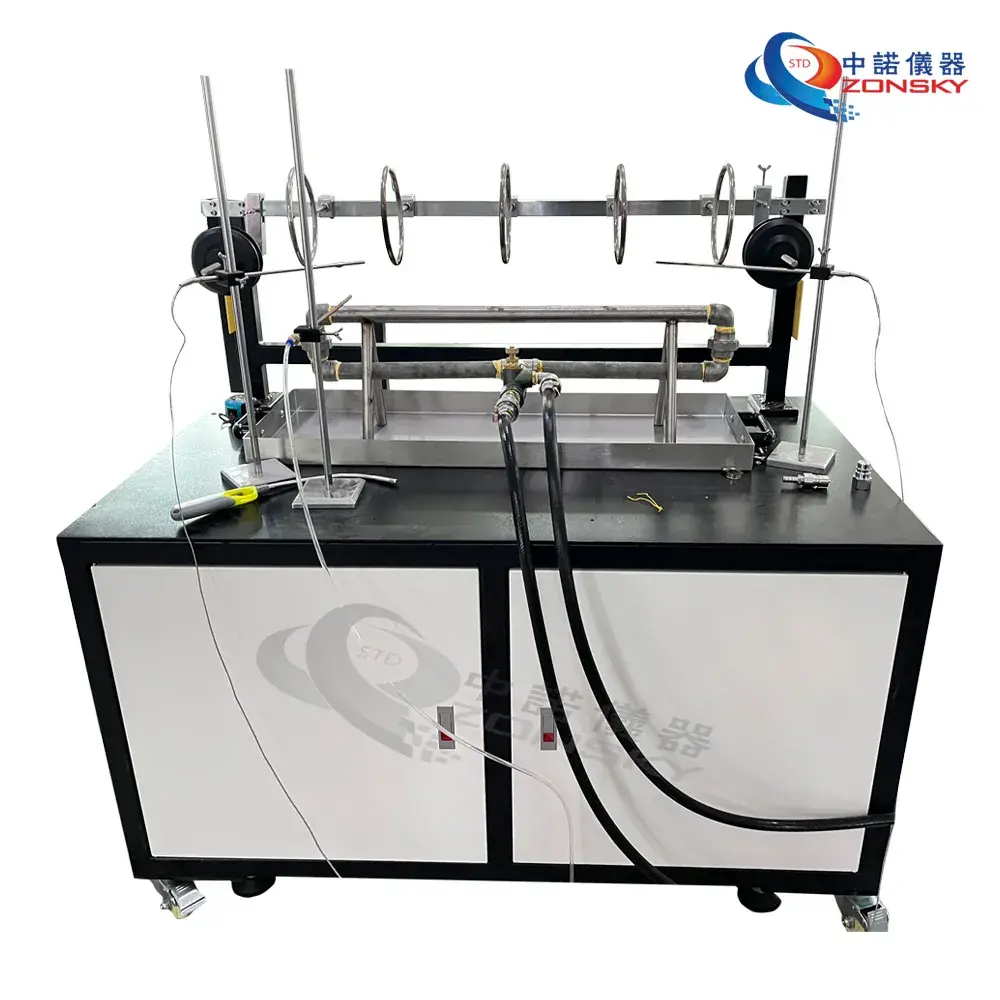
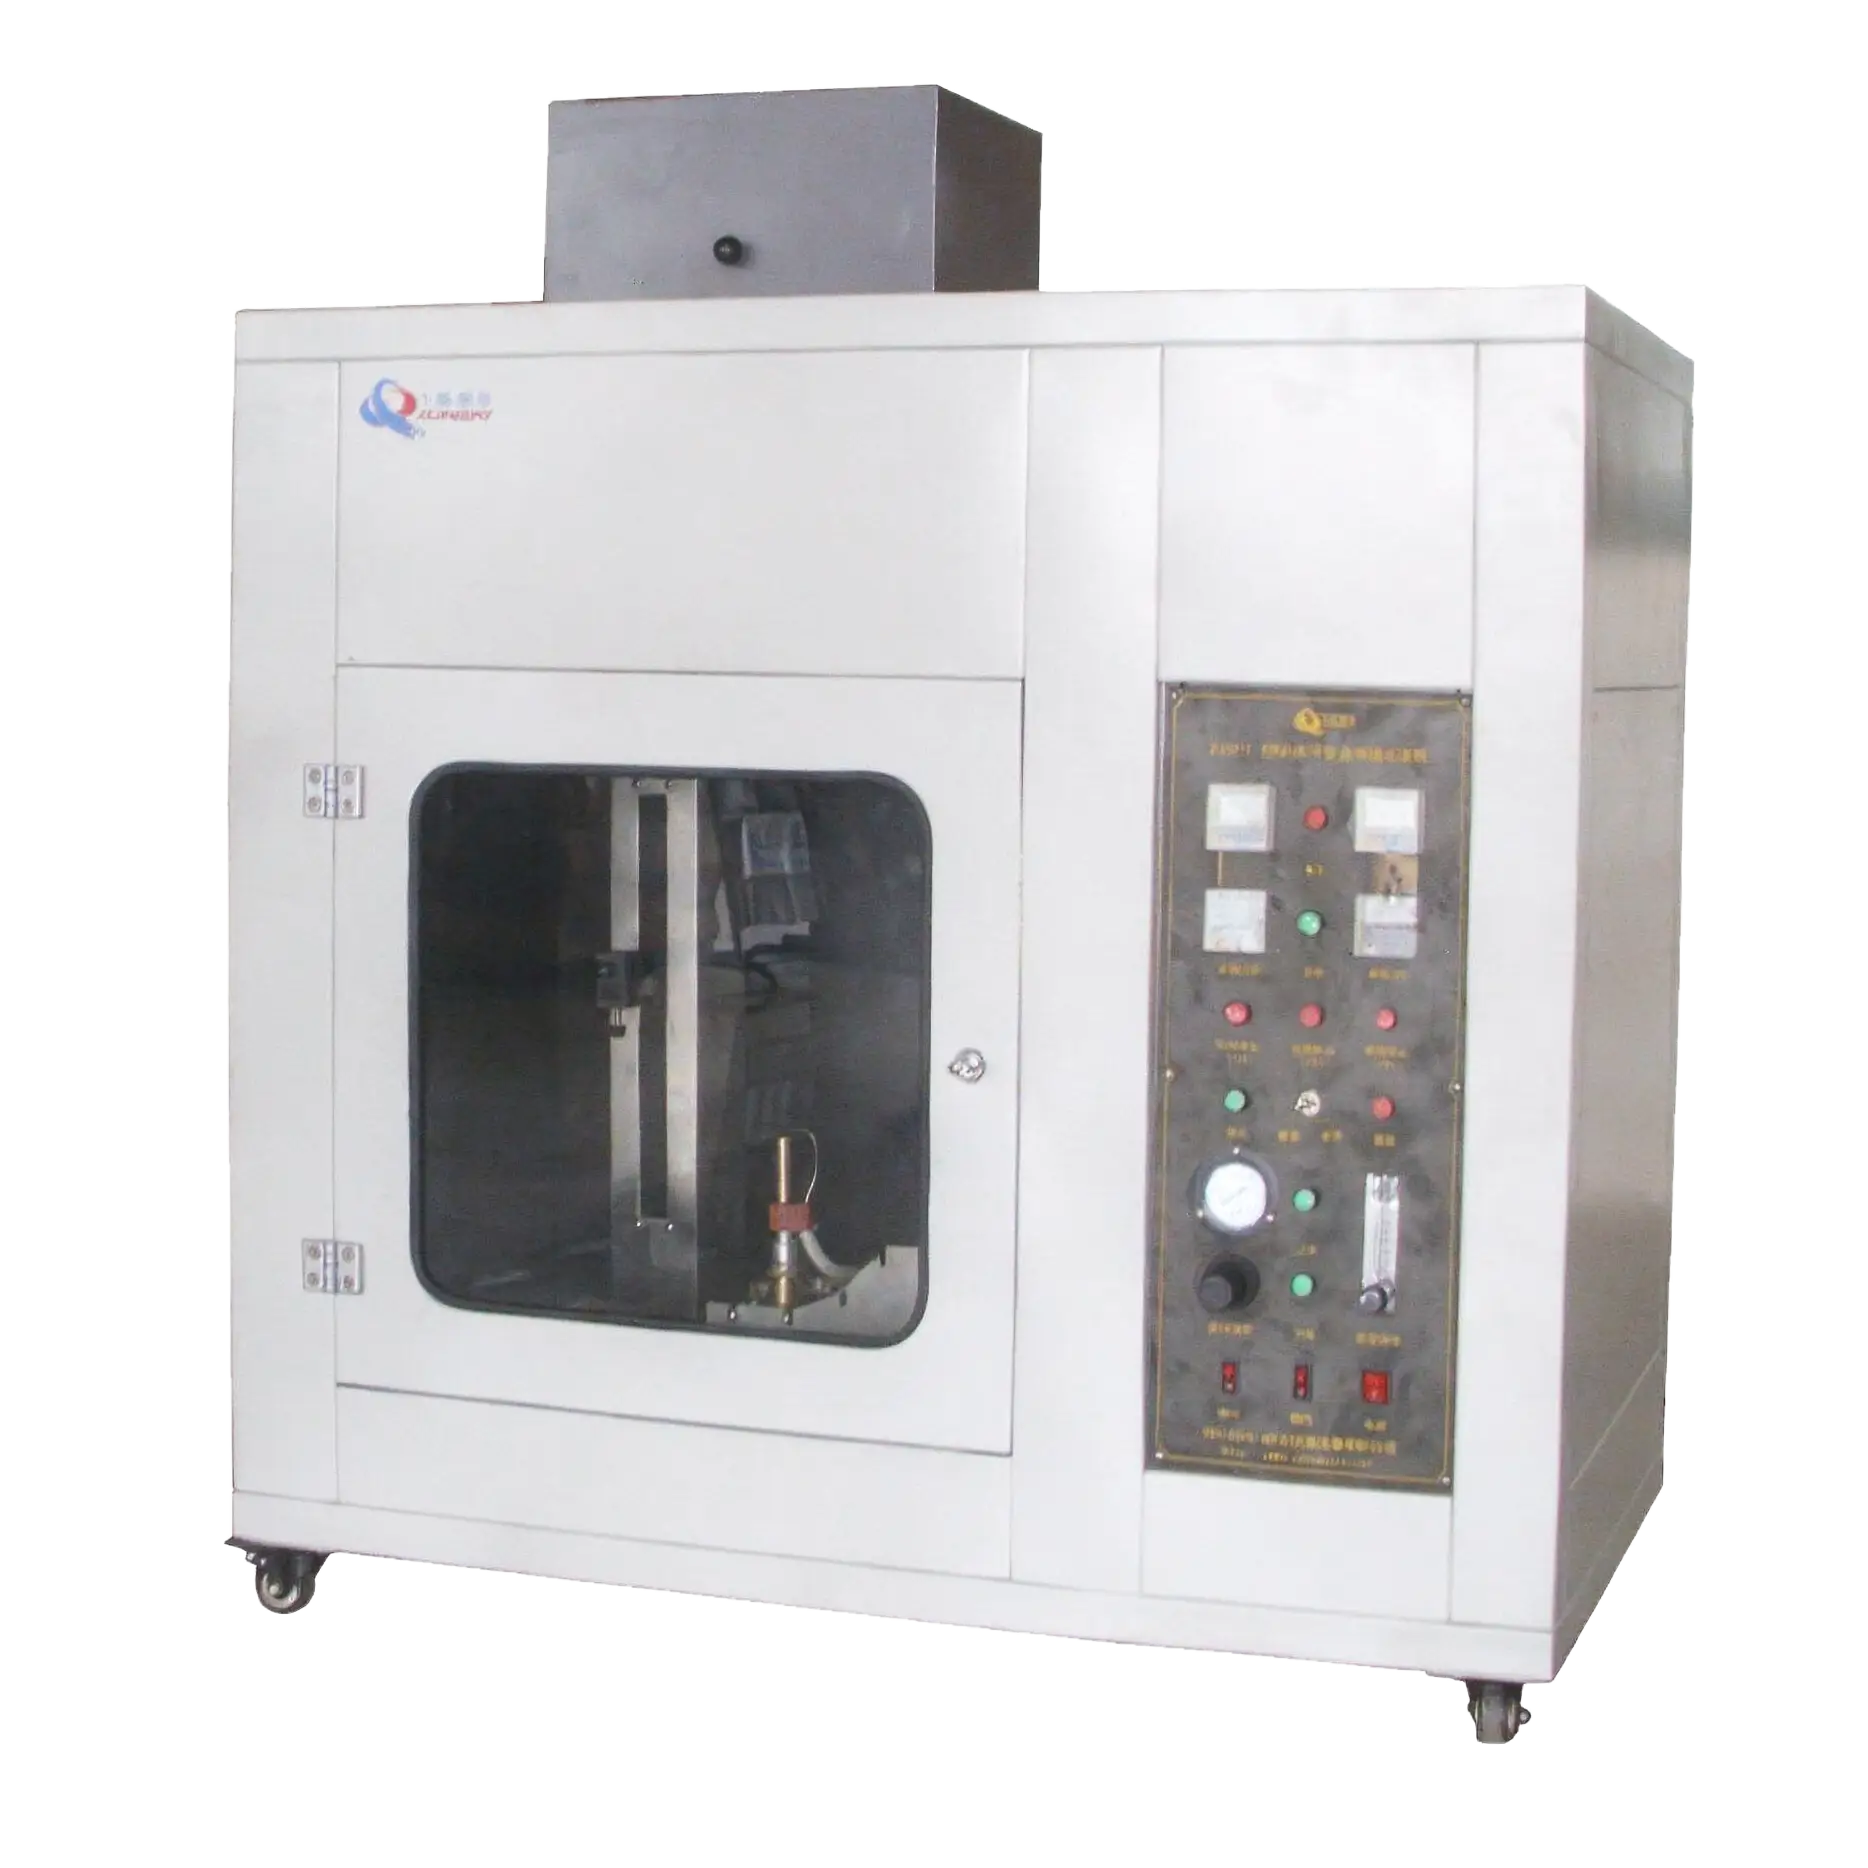
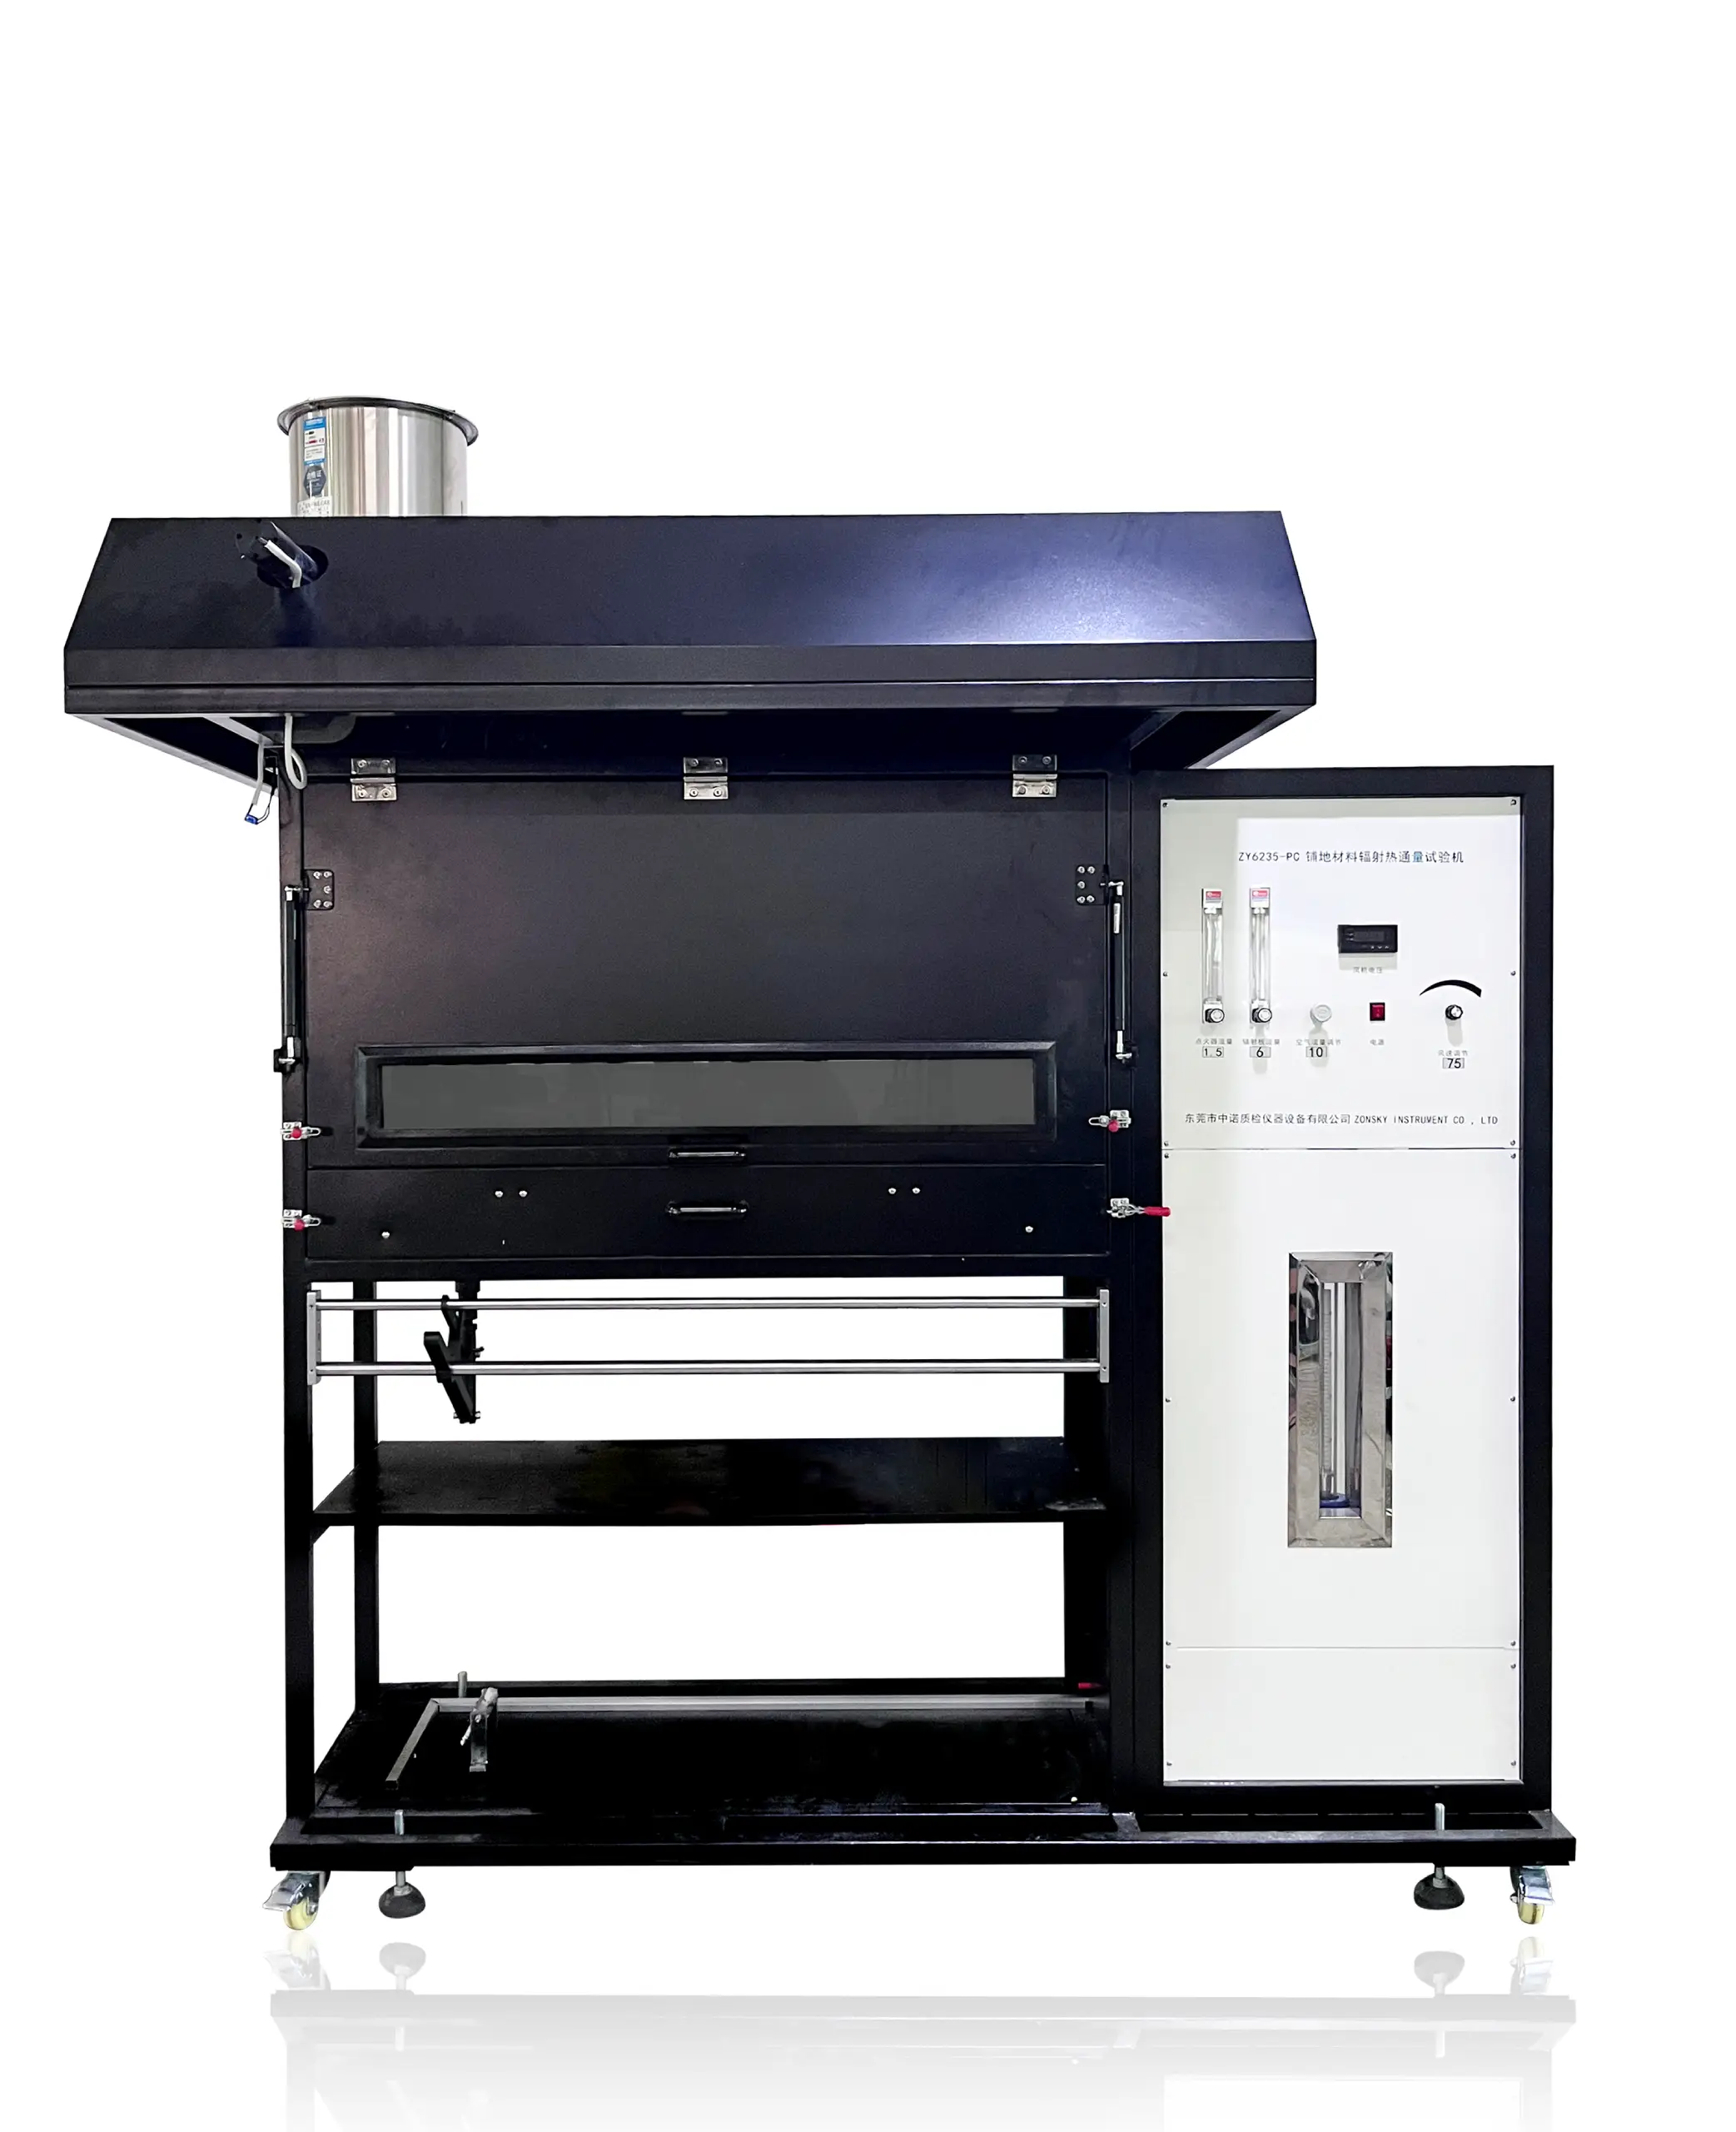
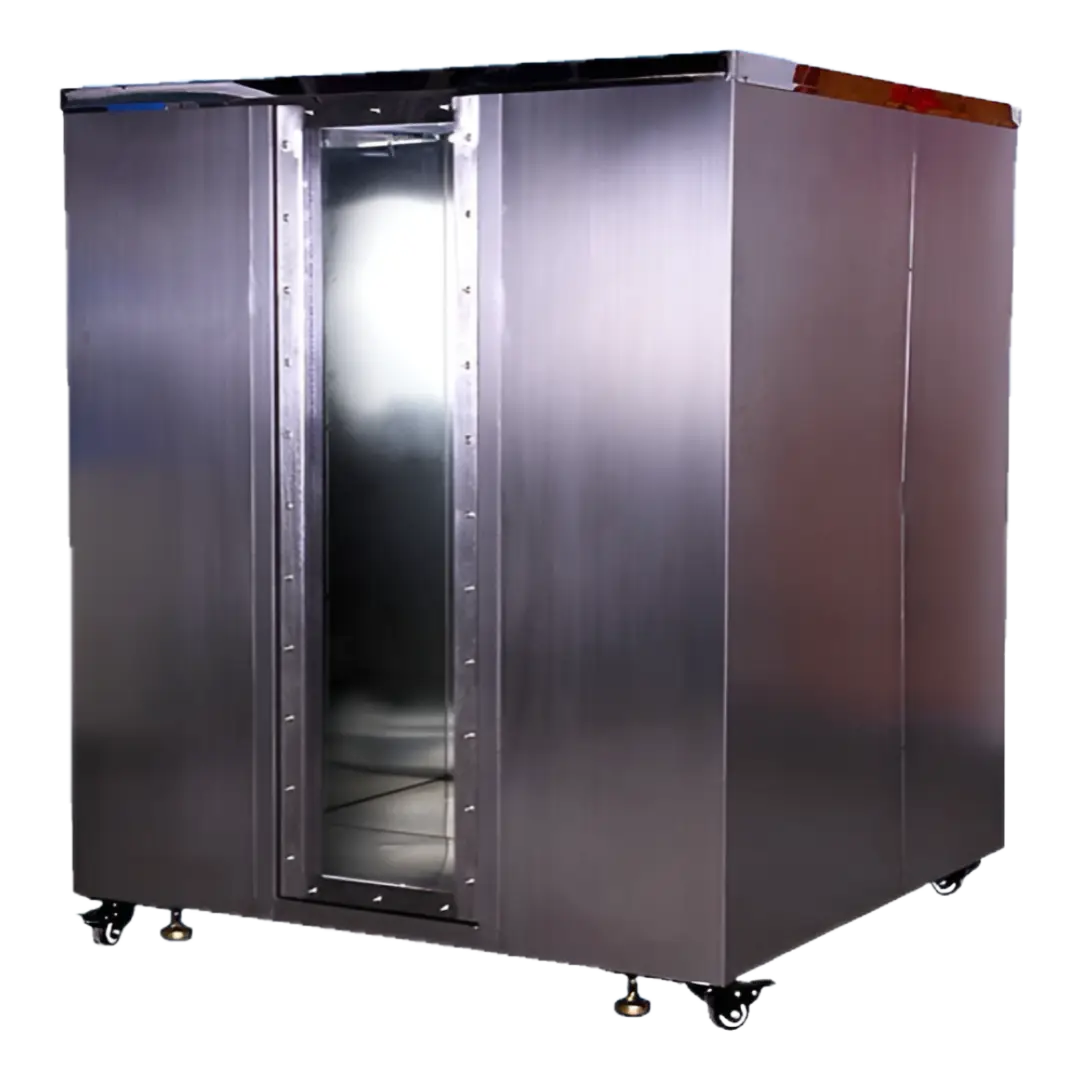
Structure & Design:
- Premium Finish: The main box features a high-quality paint treatment for an aesthetic and professional appearance.
- Durable Materials: All fixtures are crafted from stainless steel, ensuring excellent anti-corrosion properties and a long service life.
- Clear Observation: Equipped with tempered glass doors, allowing operators to safely monitor the entire testing process.
Core Specifications:
- Chamber Dimensions: 700mm (L) × 400mm (W) × 600mm (H).
- Combustion Angles: Supports both 0° (vertical) and 45° testing positions.
- Adjustable Burner: The burner can be moved horizontally, and the flame height is fully adjustable to meet specific test requirements.
Test Precision & Tools:
- Precise Timing: Flame application and hold times are adjustable from 0 to 99 minutes and 99 seconds.
- Standardized Accessories: Includes two types of stainless steel sample holders and a flame height gauge.
High Automation:
- Designed for ease of use, ensuring highly accurate and repeatable test data
Test Methods / Procedures
1. Pre-Test Preparation
- Component Verification:
- Ensure all essential accessories are present: sample holder, positioning device, drip tray (with filter paper if required), flame height ruler, and gas connections.
- Environment Setup (Optional Wind Speed):
-
- If equipped with a wind speed device, connect the auxiliary power.
- Adjust the airflow to 0.7 ± 0.1 m/s to ensure a stable testing environment.
- Supply Connections:
-
- Connect the equipment to a stable power source.
- Secure the gas valve to the cylinder (manually open the safety valve) and ensure no leaks in the gas line.
2. Sample Setup & Parameter Configuration
- Specimen Mounting:
- Secure the specimen (standard size: 250mm × 90mm) into the sample holder.
- Place the holder in the chamber and use the positioning device to align the flame impact point (typically 40mm from the bottom edge).
- System Programming:
- Set the “Flame Application Time” on the touchscreen (typically 15s or 30s).
- Enable “Automatic Ignition” and “Automatic Gas Shut-off” for enhanced safety.
3. Flame Calibration & Testing
- Flame Adjustment:
- Ignite the Bunsen burner and adjust the gas flow to produce a 20 ± 2mm blue flame.
- Tilt the burner to a 45-degree angle relative to the specimen.
- Test Execution:
- Click “Start” to initiate the automatic sequence. The burner will move to contact the sample as the countdown begins.
- Observation & Recording:
- Monitor for surface ignition or the flame reaching the marked line.
- Check the drip tray: observe if molten material ignites the filter paper.
4. Post-Test & Maintenance
- Data Management: Save the experimental results and systematically shut down the gas supply.
- Safety Protocol: Never place hands inside the furnace during operation. Ensure the surrounding area is free of flammable debris.
- Periodic Calibration (Every 3 Months):
- Temperature Uniformity: Verify that the 4-point temperature difference is ≤ 15°C.
- Wind Speed Accuracy: Verify that the 5-point measurement error is ≤ 10%.
Specifications
Dimension:1040mm(L)*400mm(W)*1050mm(H)
Power:AC 220V, 50/60Hz, 10A
Control System / Software
- Programmable Logic Controller (PLC) Control:
- Automatic timing, automatic ignition, ignition abnormal protection;. LCD touch screen display;
- real-time monitoring of experimental data, queries six samples of experimental data, query alarm content